This article will show you how to draw No Face from Spirited Away. No Face is one of the most popular characters in the movie Spirited Away.
If he is called no face, doesn’t that means he has no face?
And how do we draw a character that doesn’t have a face?
Where do I start my drawing from if he doesn’t have a face? I also heard he is a transparent spirit whom no one else seems to notice.
Do not get worried by all these questions. We’ve got you covered. This article contains a step-by-step guide on how to draw No Face from Spirited Away.
He is a strange creature that takes on the form of a human and doesn’t have a face but instead has a large mouth. Despite his appearances, No Face is a kind and gentle spirit. He is friendly and helpful, but he can also be sneaky and manipulative.
Draw A Circle and Add Eyes to the No Face (Kaonashi) drawing
Contents
Start your drawing by making No-Face’s mask; draw a circle in the form of an oval shape that should not be too big or small so that your drawing can look better.
For beginners, you can decide to add lines to the circle of the mask, which can be a vertical line or horizontal line.
For the eyes shape, just like others, you can use oval shapes that can be carefully replicated; draw two different oval shapes in alignment with the horizontal line you drew for the basis of the eyes.
In contrast, for an expert that doesn’t use facial lines, ensure the oval shapes of the eyes are in the proper position.
That is not all; there is more; you need to draw the mouth under the oval shapes of the eyes; draw another oval shape for the mouth so that it is aligned with the vertical line (at the bottom) that you drew on the mask.
Draw the Robe-Like Body
The next step for this article is to draw No-Face’s body; the body looks robe-like in shape with curved sides.
I will show you two ways of drawing the body, and I am certain you will prefer one of the ways of drawing the body, if not the two ways.
The first way is very straightforward, draw an oval shape for the body so that it covers the shape of the mask and forms the natural structures of the body; the sides of the body are curved and have a flatly curved bottom.
The second way of drawing the body, which is the perfect way of making the natural body of No-Face, is by drawing a concave curve at the top of the mask’s shape and extending the ends of the concave curve down.
Hence, it forms the upper part of the body.
Now curve the sides of the body robustly, so it shows how big you want your No-Face’s body to be; extend the ends of the curved area down, so it also shows the length of the body and joins the end of these lines together with a horizontally curved line showing the flat bottom of No-Face’s body.
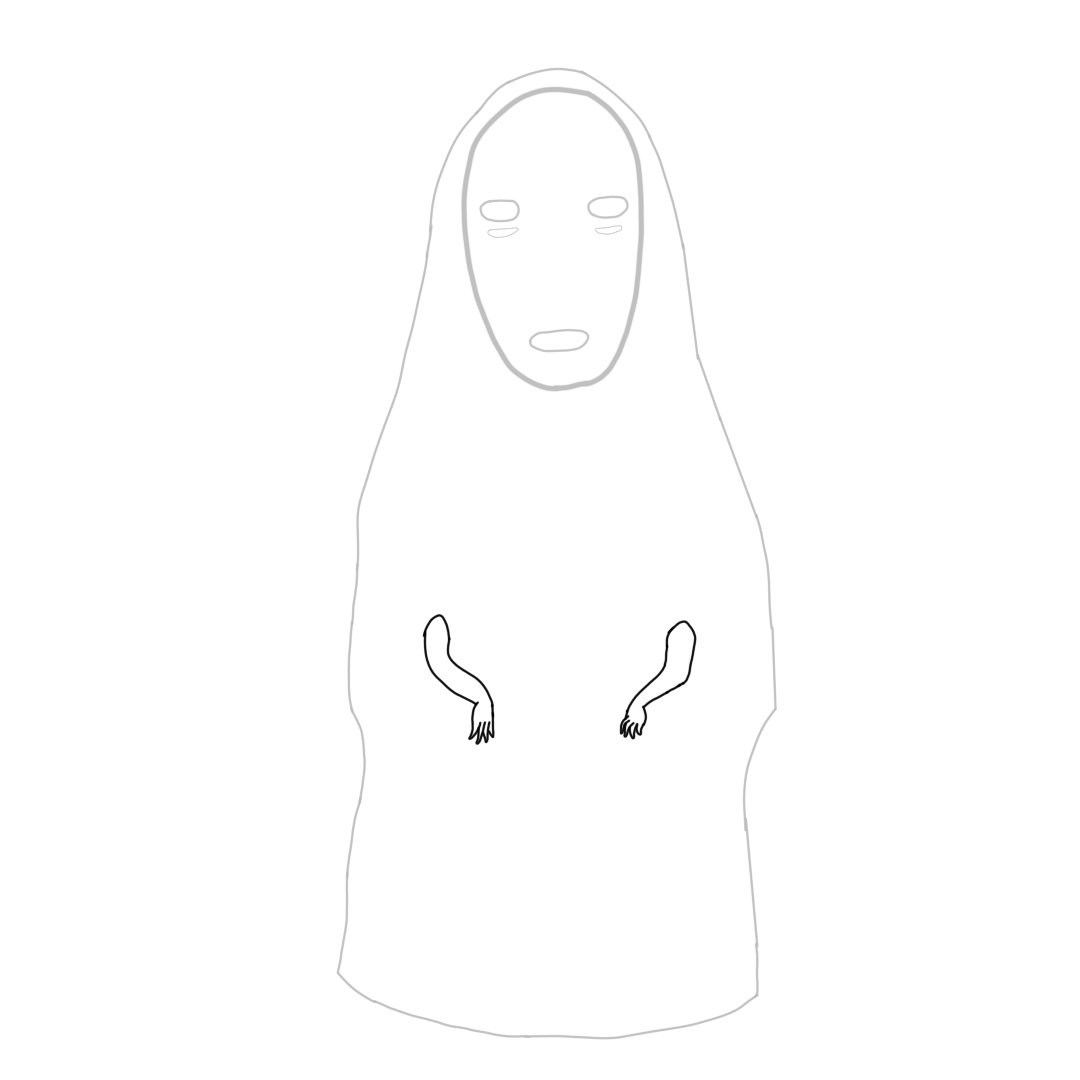
Add the Hands
Do you want to learn how to draw No-Face’s rare hands?
Firstly, you have to draw the arms uniquely so that it’s at the center of the shape of the body; No-Face has two arms which can be drawn using curved lines; draw the two arms so that they are facing each other with space between them and add the shape of the hands to the arms in a way that shows the direction of the hands pointing downward with the fingers.
For beginners, you can draw a horizontal line at the center of the body, which will help you arrange the hands to have a good image of what you want, then add the fingers.
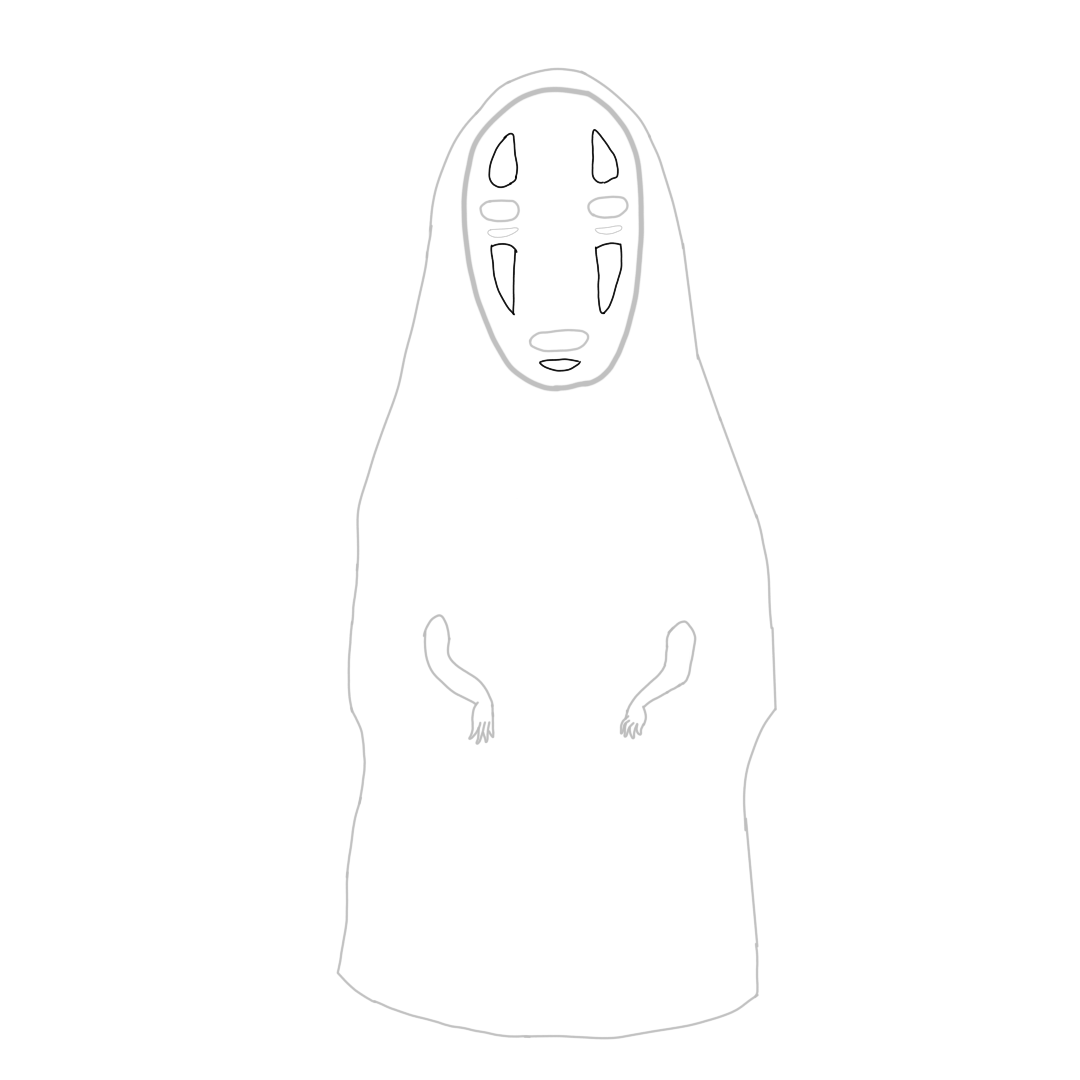
Add the Markings on the Face
Yes! We are almost there.
Most people like No-Face from spirited away because of the marks on his face, even though the face tends to scare kids.
For these marks, you must know the basic shapes to have a smooth drawing; draw a triangular shape with a slightly curved side at the top of the eyes and a flat oval shape under the shape of the eyes.
Complete the No-Face’s marks by drawing another triangular shape under the flat circle you drew below the shape of the eyes.
Still, this time, the edge of the triangular shape should be pointing down toward the shape of the mouth and make a little flat oval shape under the shape of the mouth.
That is all for the markings on No-Face’s face.
Add Details to the No Face (Kaonashi) drawing
Details are another way of restructuring the drawing to what you want, either by adding lines, dots, or shapes or removing them just for you to have a perfect drawing.
Use a thick pencil to trace out the body’s vital parts, including the arms and facial marks, so that you can know the main focus of your drawing.
Erase all excess lines and dots that might want to make the drawing ugly.
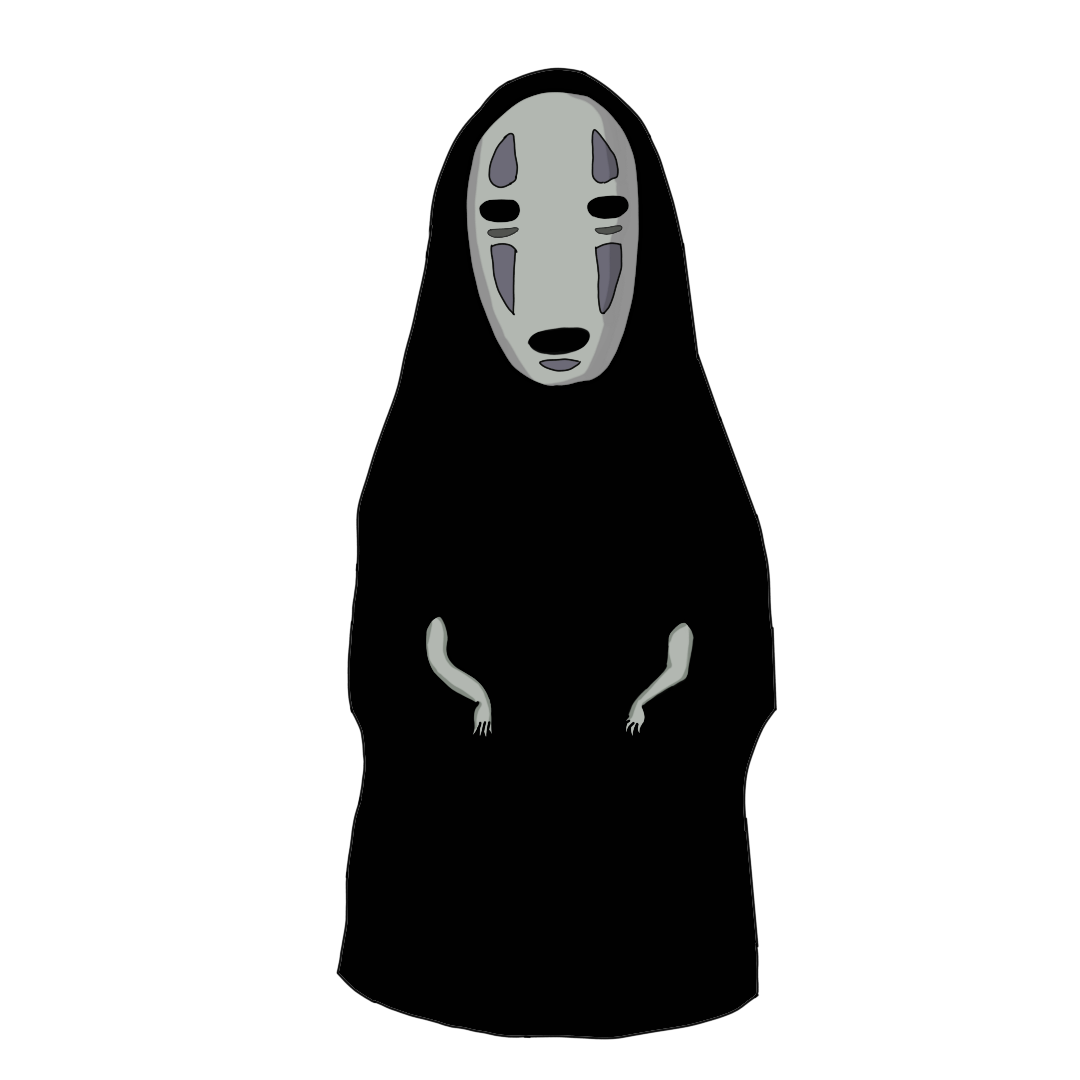
Add Color to the No Face (Kaonashi) drawing
Coloring is a very nice and fun activity you want to add to your drawing.
Do you know that adding colors to your drawing is another means of exercising yourself? And learning how to blend colors helps your mental health?
These are the benefits you gain and enjoy when you have attempted to color you’re drawing.
Another thing is that it adds beauty to your image as well as makes it presentable.
You can color the triangular shapes of the face a very nice color while other shapes of facial features remain shaded and the oval shape of the mask remains white.
You can color the whole body black and use a white pencil to trace the border of the arms and hands, so it adds beauty to the hands.
Conclusion
You have now finished drawing in a great way; I will leave this to you so that you become an expert on how to draw No-Face from spirited away.
I was hoping you could take a look at the outcome of your efforts and see what you have managed to create by following all these steps above, and I hope you like it.
Remember that this is a simple but easy way to draw this character (No-face). Bring out your necessary drawing materials, and let us have fun.


 From Spirited Away | Let's draw Haku")
 From Spirited Away | Let's draw Haku")
")
")
")
")
 in Front View and 3/4 view")