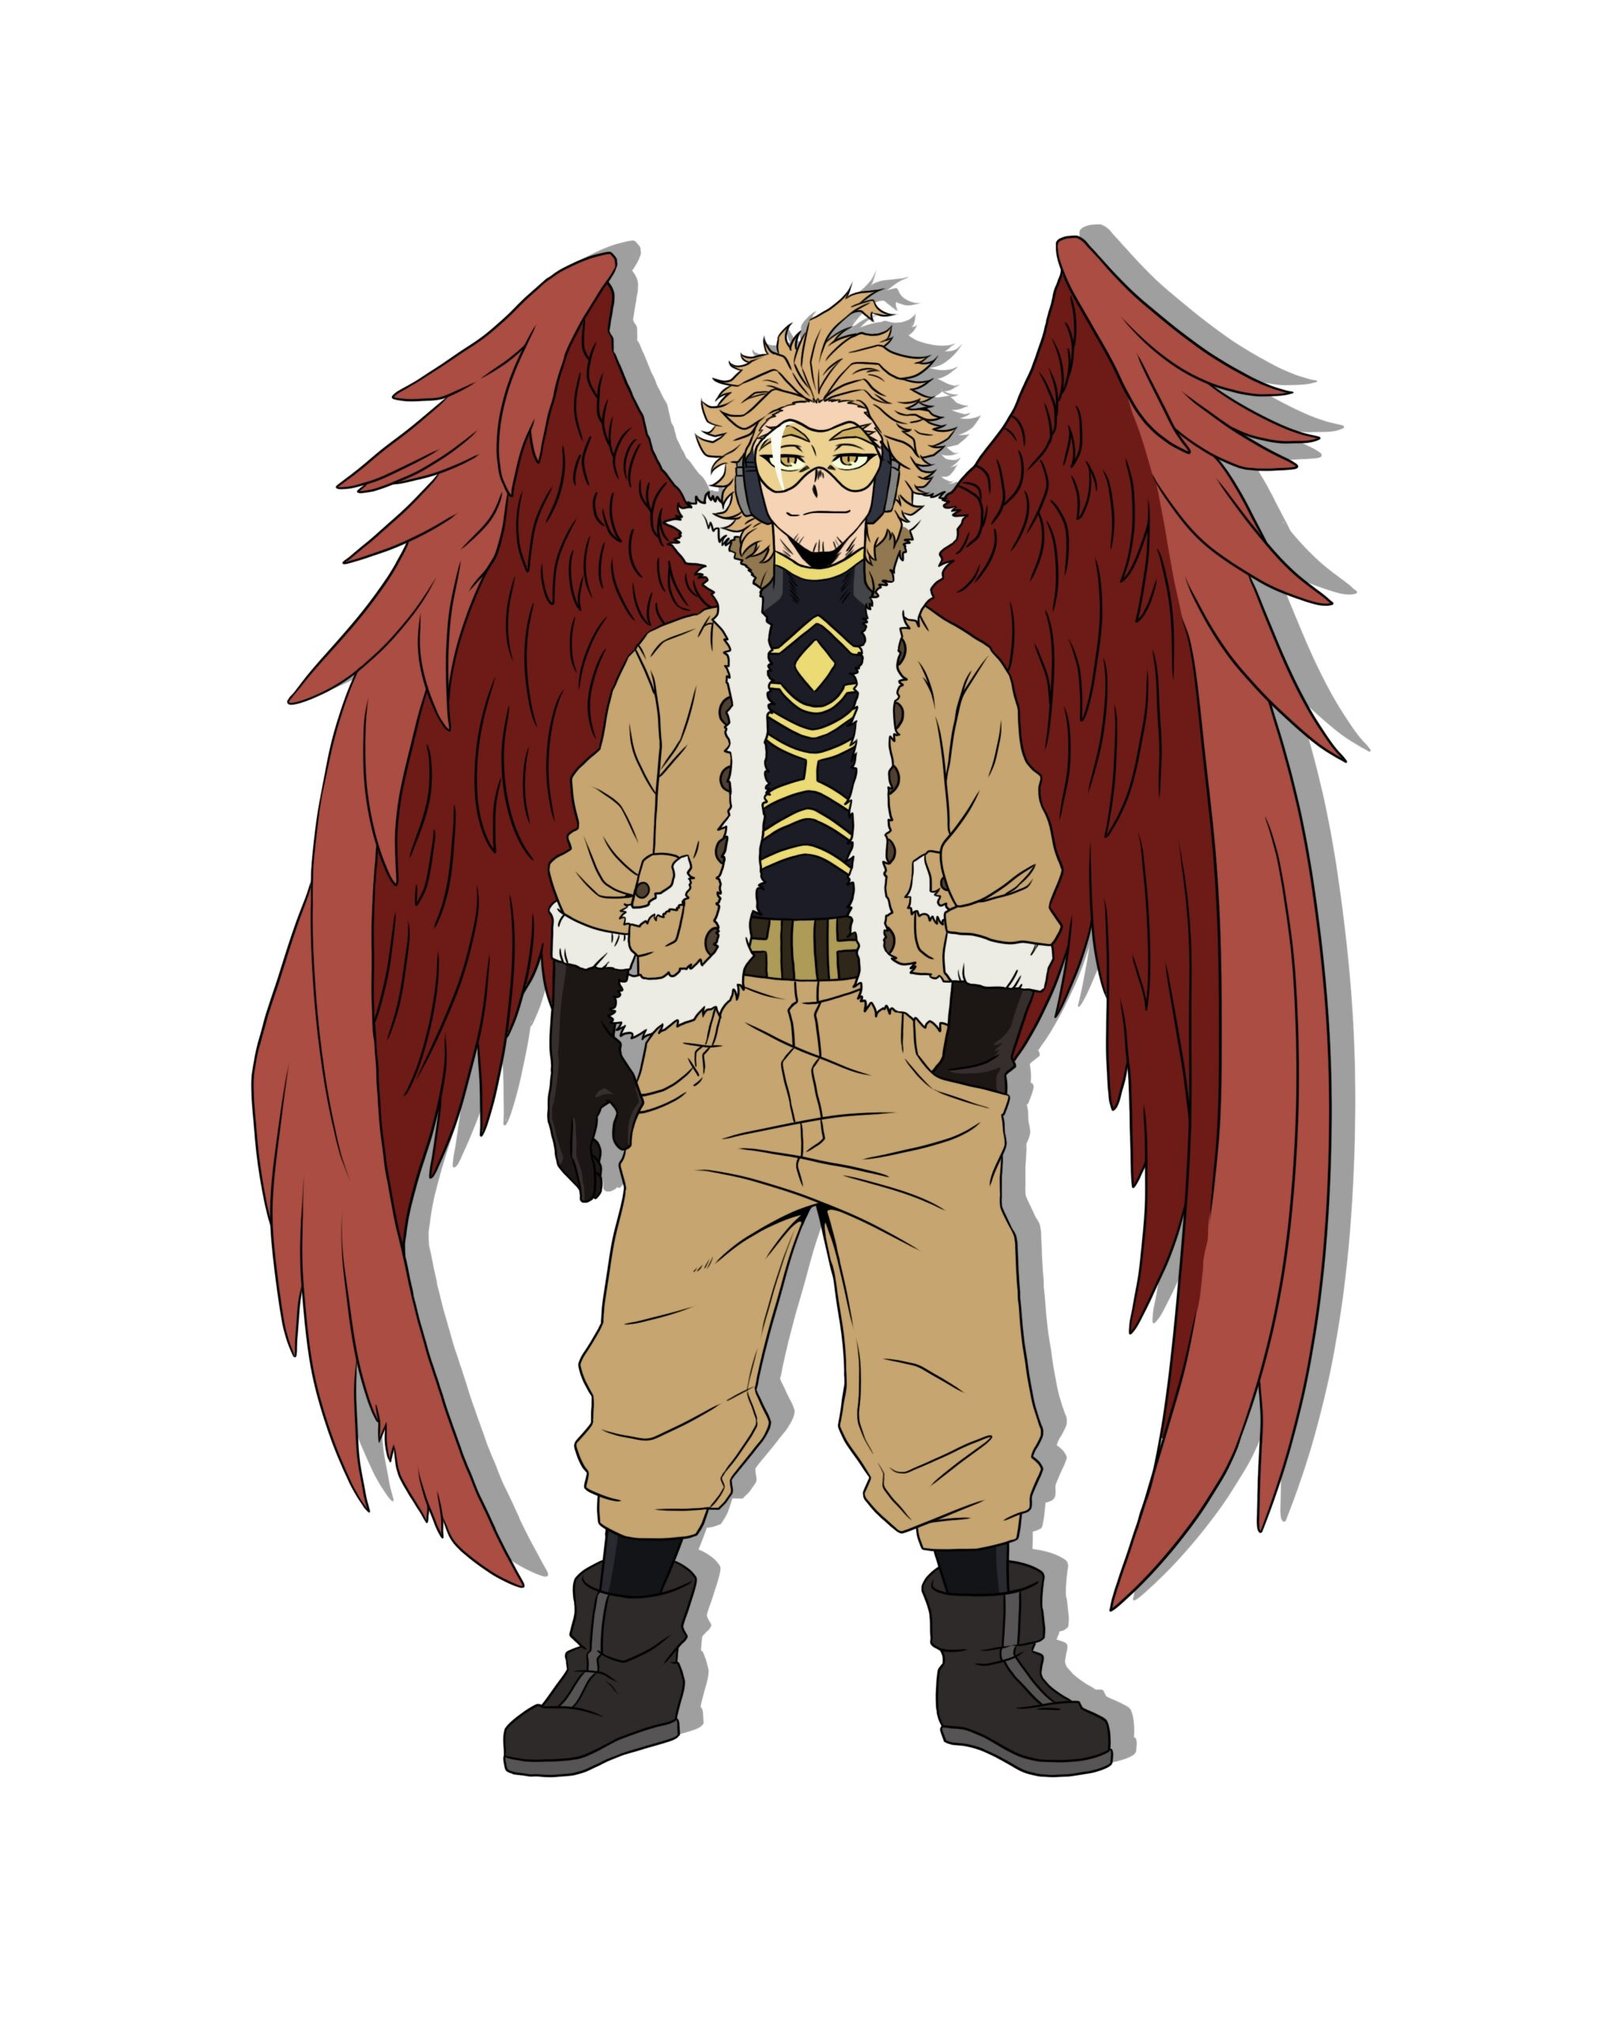
Hawks- Keigo Takami is Pro Hero despite his young age. Let’s get started with the Hawks Drawing without further ado.
He has been working with heroes since he was seven years old, but it wasn’t until he became an adult that he decided to become a professional hero himself.
After becoming a pro hero at nineteen. Keigo had a meteoric rise through the ranks and was soon called “The Next Big Thing.”
It didn’t take long before Keigo began to be recognized as one of the best new talents in the industry.
The circle should not be too big but the size of a normal head.
This vertical line should be very long (the length of the hawk), then you draw another horizontal line at the bottom of the line, which would serve as where the hawks are standing. This line should be a bit longer than the legs can fit.
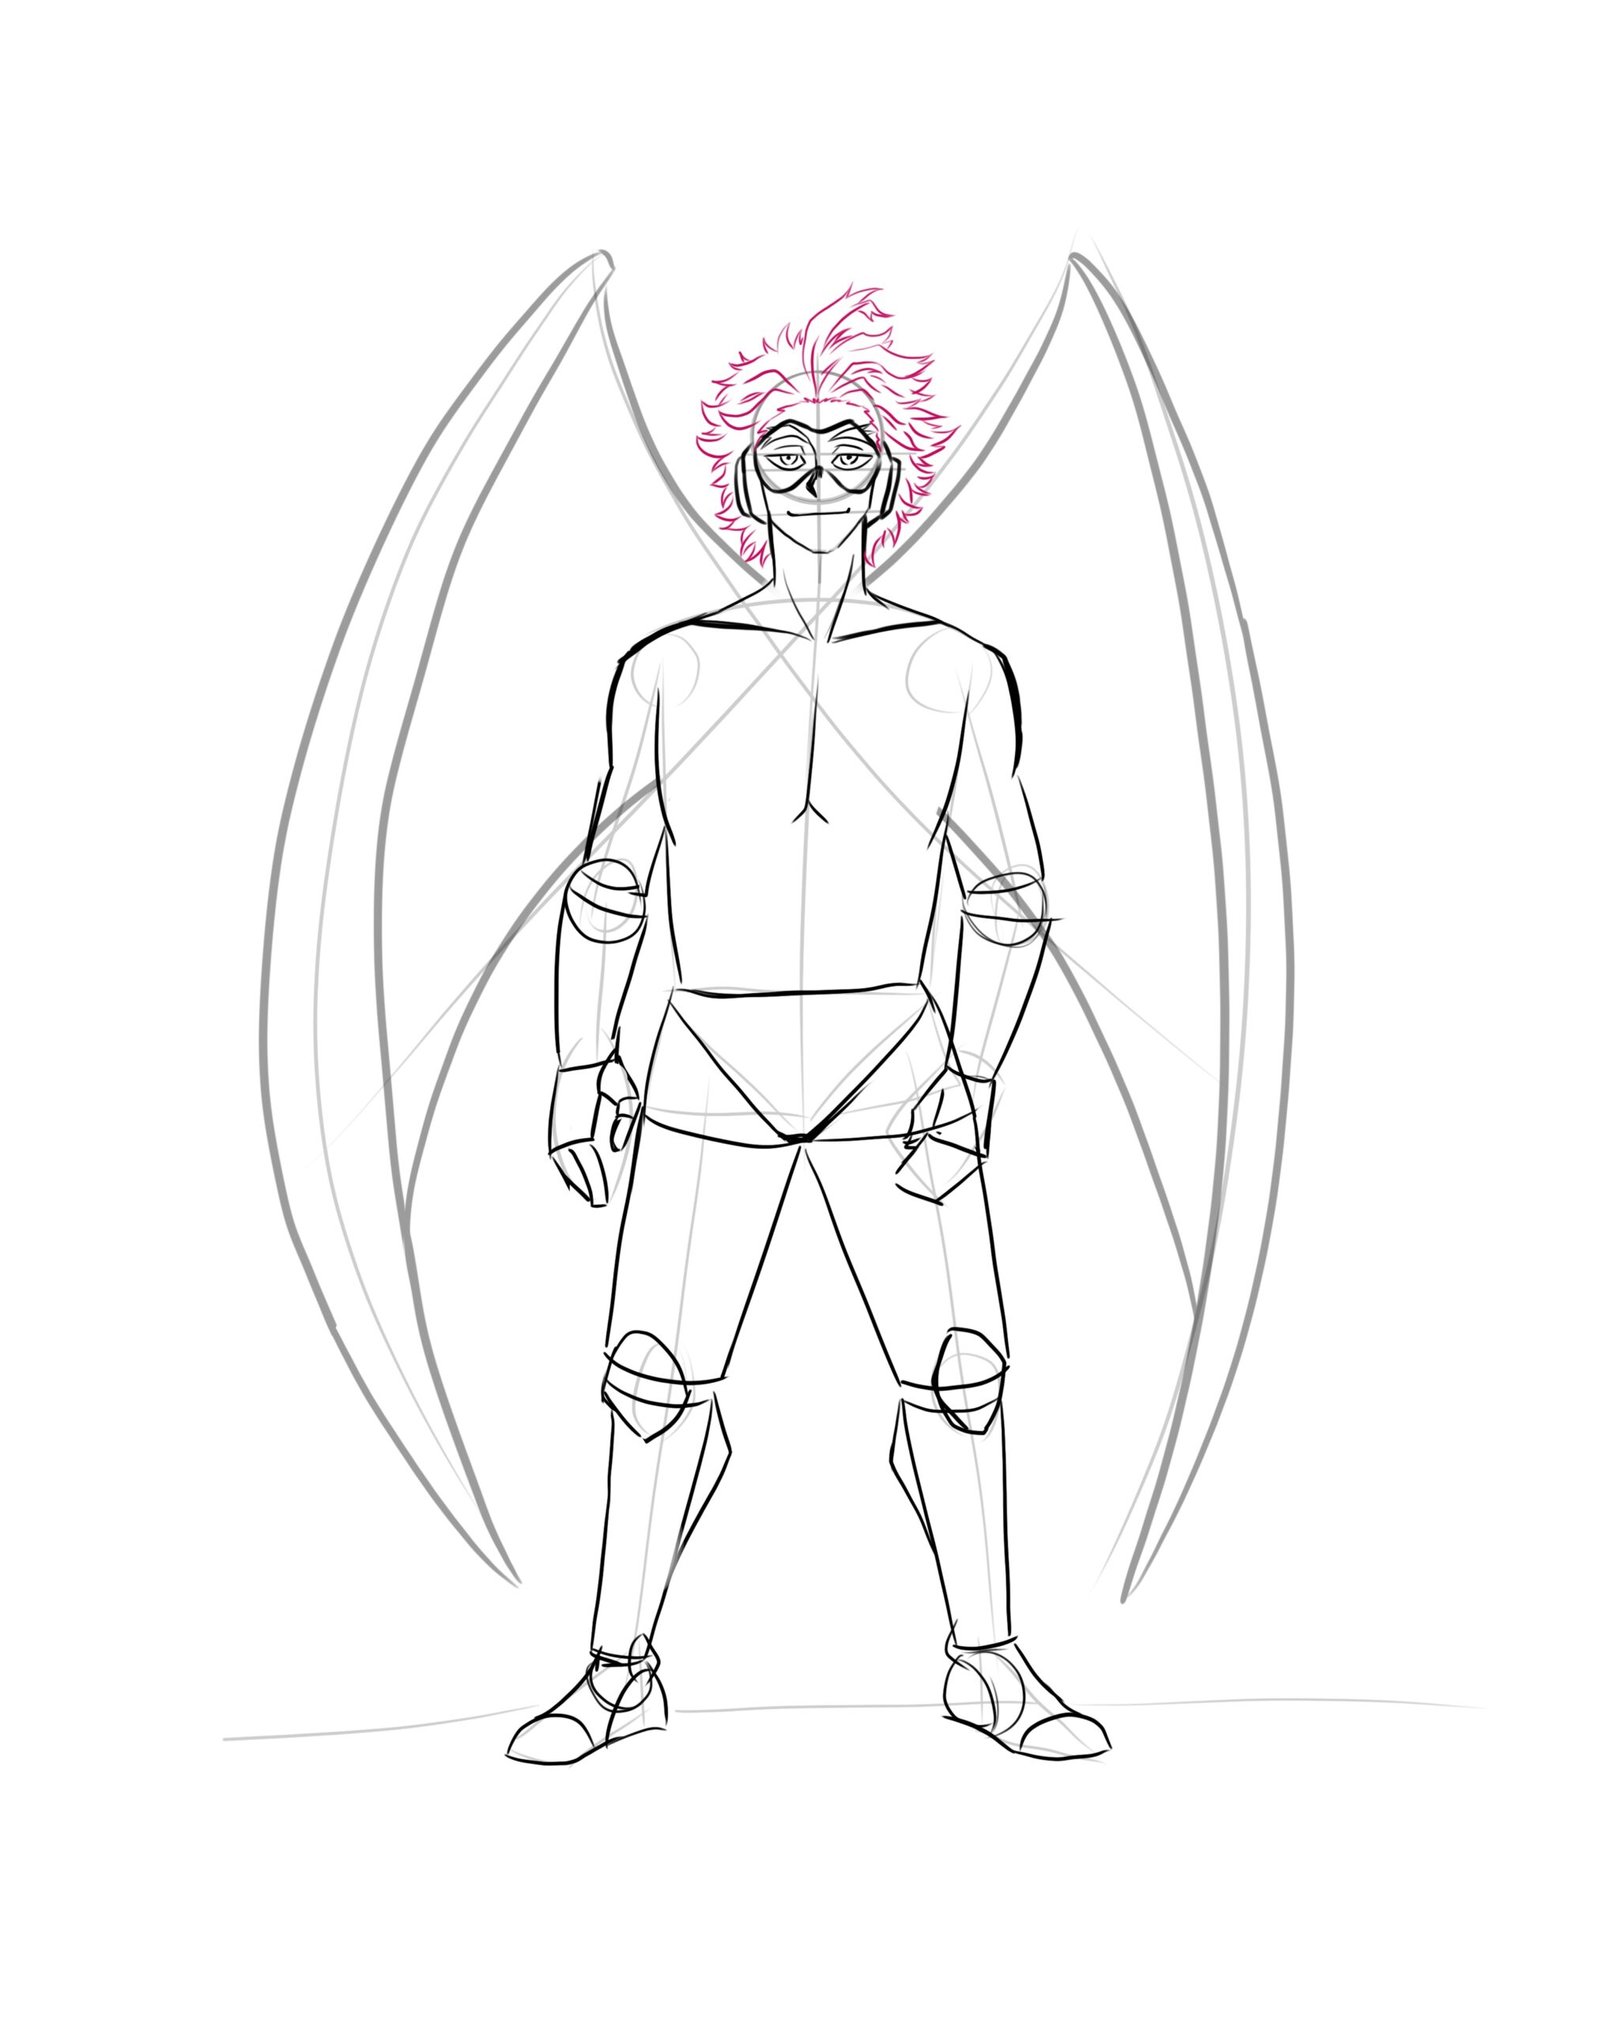
Draw Hawk’s head
Begin with a circle and lines
The circle serves as the head.
Draw two horizontal lines inside the circle, one horizontal line under the first horizontal line, having in mind that we would leave space for the nose; this line is the mouth.
The mouth should be wider than the nose when drawing the nose.
Draw Hawk’s body
Outline the arms and hands
The arm should be drawn like a human’s arm, the elbow should be bent, and the left hand should be inside his pocket.
Keigo has two hands, and the fingers should fit well in the hand.
Both right and left hands are respectively equal.
The hand should be drawn like a fist.
The knuckles should be pointed downwards.
The fingers should be closed together, the middle finger should be placed next to the index finger, the ring finger should be placed next to the pinky, the thumb should be placed next to his index finger, the palm should face upwards, and the wrist should be narrow, the elbow should be slightly bent, the shoulder should be broader than the other arm, the back should be broad.
The left hand is inside the pocket, while Keigo’s right hand is beside the right pocket.
Outline the legs
Keigo has two legs. The leg should be drawn like a human’s leg. The legs are drawn with a space between them.
Keigo’s leg hosts many features found on his body, like his pant, boot, ankle, knee, and many more.
You can easily draw the legs by starting with two vertical lines attached to the semi-circle (convex) that serves as the stomach and waist.
Outline the boot
The boot should have three parts, the front part, the back part, and the heel.
The front part should be narrower than the back part.
The back part should be narrower than the heel.
The toe should point towards the ground, the sole.
You can easily draw the boot by drawing a vertical line beside the lines of the legs, then draw a semi-circle(concave) at the top of the vertical lines.
Now draw another semi-circle pointing outward, and let the edge of the two semi-circles meet. You can now close the opening with a vertical line.
Outline the Hawk’s wings
Hawk has two wings, the left-wing and the right-wing.
Wings are always symmetrical.
The wing should be drawn like a bird’s wing.
The wing should be long enough, so it covers the whole body, the wing should be curved inward, the wing should not cover the feet, the wing should be connected to the body through the shoulders, and the wing should be wider than the body, the wing should not be too thin, the wing should be attached to the body through the chest, the wing should be straight, the wing should be placed in an angle of 45 degrees, the wing should be raised from the body, the wing tip should be pointed toward the boots, the wing should be positioned on the side of the body.
Draw outline for Hawk’s neck and jaw
Hawk’s neck is drawn with two vertical lines connected to the head and shoulder.
The necklines start from the bottom of the ear and end on the concave, which serves as the shoulder.
The neck should be thick.
The neck should not be too thin or too fat.
The neck should be connected to the head through the shoulders.
The jaw should be wide.
The jaw should be placed near the body’s center, the jaw should be angled down, and the chin should be pointed downward.
Keigo’s jaw can easily be drawn by connecting the two vertical lines that serve as the neck with a semi-circle (convex) joining with the circle of the head. The jaw should be connected to the neck.
Draw outline for Hawk’s earphones
Hawk’s earphones should be placed on the outside of the ear, the earphones should not be too big or small, the earphone should fit snugly into the ear, and the earphone should be connected to both ears.
The earphone can be drawn by making a bigger curve on the ear.
The earphone is also connected to the glasses he’s putting on.
Draw outline for Hawk’s glasses
The glasses should be made with two concave curves, the glasses should be made with a convex curve, the glasses should be connected to the eyes through the nose, the glasses should not be too big nor too small, and the glasses should be placed on the face, the glasses should be angled upward.
The eyes should be oval-shaped, the eyes should be placed at the right place on the face, the eyes should be connected to the eyebrows through the nose, and the eyes should be dark brown.
To draw the eyes, you have to draw the shape of the eye, then add the eyelids, the pupils, the iris, the whites, the black, the lashes, and the brows.
The eyes are also connected to the glasses.
The iris is at the center of the eyes, while the white part of the eyes is showing at the bottom of the iris
To draw the eyebrow, make two concave shapes on top of the eyes. The lower concave should not be too curved inward so the eyebrow can look more realistic.
The nose should be placed slightly beside the middle line of the face. The nose is also connected to the glasses, and it is above the mouth.
The mouth should be wide.
The mouth is drawn from the horizontal line of the circle of the head.
The mouth should be placed on the vertical line that runs from the top head to the down part of the body. The mouth is a single line because it is closed.
Hawks hair Drawing
The hair should be long enough to cover the entire head area.
The hair length depends on how much hair you want to draw.
The hair should be thick enough to show some volume, on the back of the head, the front of the head, the top of the head, the left side of the head, and the right side of the head.
The hair is very simple to draw. You just need to pay good attention to how it looks to make something good out of it.
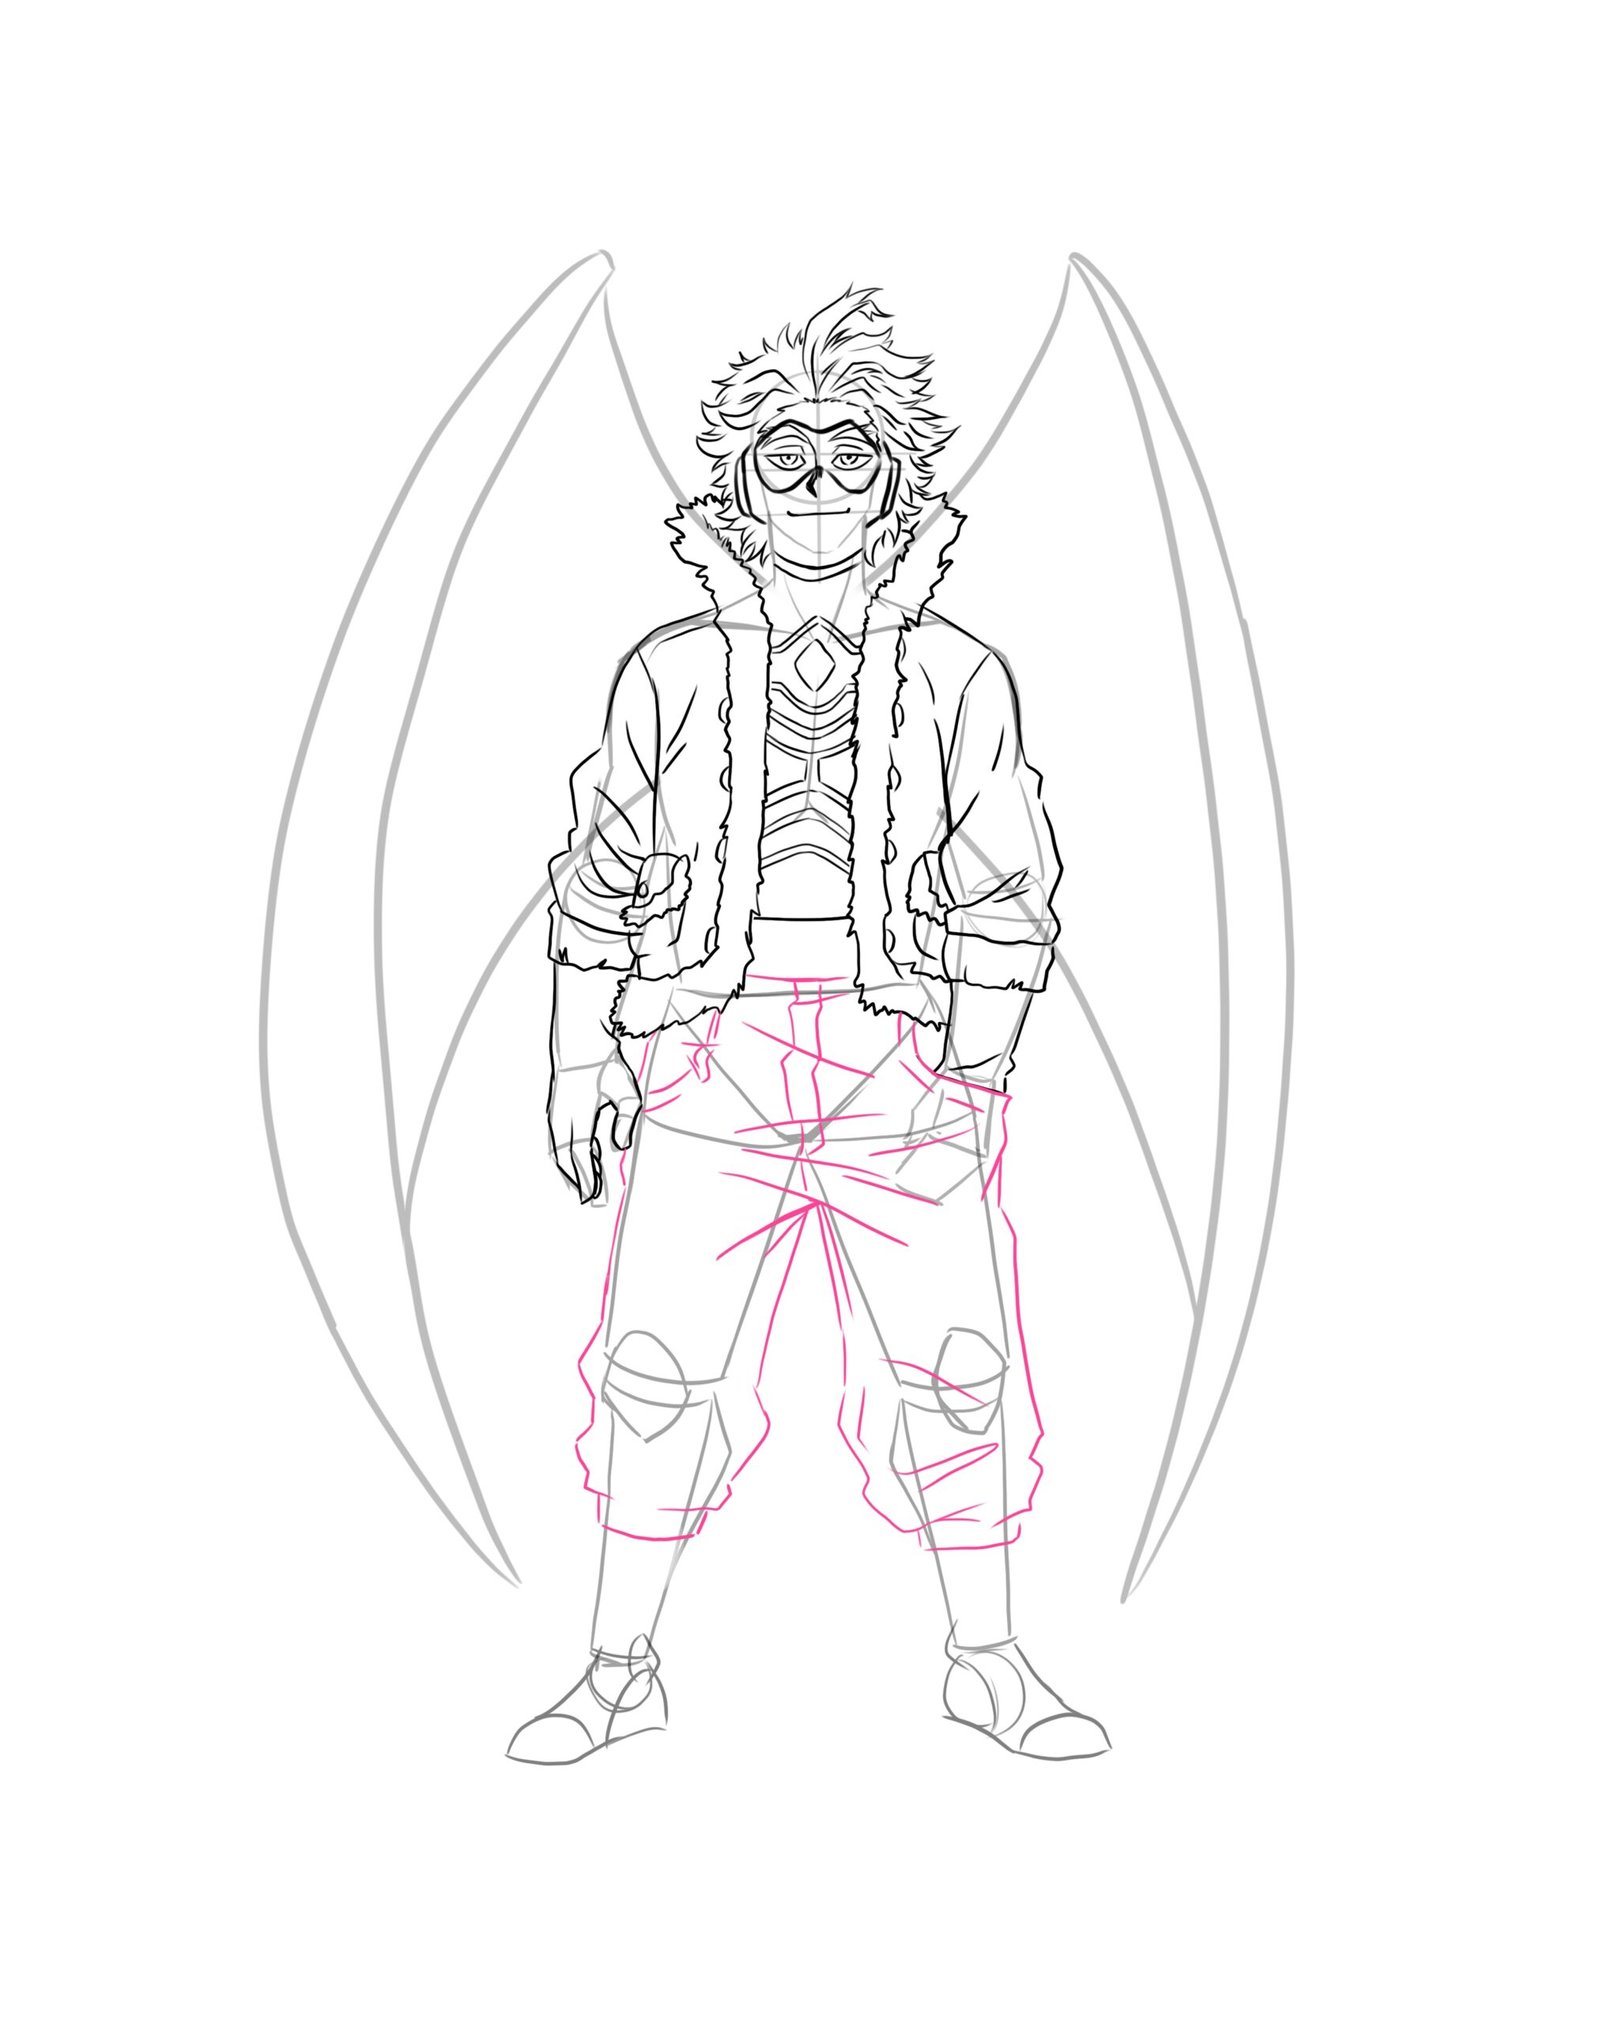
Draw Hawk’s outfit
Hawks shirt drawing
To draw Keigo’s shirt, he is putting on a turtle neck.
The turtle neck has some designs on it.
His shirt is black.
The color matches the glove, the shirt is placed on the chest, the shirt is drawn by connecting the collar to the neck, the sleeves are placed on the shoulders, the shirt is placed on the waist, and the shirt is connected to the pants, the shirt is connected with the belt, you can easily draw the designs on his shirt by joining concave with convex with a vertical line.
Hawks coat Drawing
A hood is attached to the coat.
The coat comprises three parts, the right part, the left part, and the sleeve part.
The sleeve part is connected to the shoulder, the jacket is placed on the waist, and the jacket is connected to the pants.
To perfect the Keigo jacket, draw a freehand sketch semi-circle facing the right hand, this semi-circle should start from the hair, and the semi-circle should also be in a rough pattern so the front part of the hood can look more realistic.
Double the semi-circle but make sure it is not too close or wide.
Know that the semi-circle starts from the hair and ends by the side of the hand (close to his wrist).
Beside the semi-circle, draw a vertical line coming from the shoulder.
At the bottom of the straight line, draw a curve facing downward and divide the curve into two separate lines.
At the bottom of the line, draw another curve facing the first curve (the curve should face up).
This part serves as the Keigo’s pocket. This is for the right part of the hood(jacket).
Now repeat this same technique for the left part. Then add fur to the tip of his coat and the hood.
Hawks glove drawing
To draw Keigo’s gloves, the gloves are made up of four parts, the thumb, the index finger, the middle finger, and the ring finger.
The thumb is placed on the palm.
The thumb is connected to the index finger, the index finger is placed on the middle finger, the middle finger is placed on the ring finger, and the ring finger is placed on the palm.
Now connect the fingers using a line.
The line should be curved like the shape of the fingers, the line should have a slight bend at the end of each finger, and the line should be straight and smooth.
Hawks pant Drawing
To draw Keiogo’s pants, the pant is divided into 3 parts: the top, bottom, and thigh parts.
The top part is placed on the waistline.
The top part is connected to the belt, the waistline, the top is placed below the waistline(belt), and the bottom is below the knee.
The pant should be drawn so that the left hand Keigo is inside the left pocket of his pant. The pant should not reach the boot.
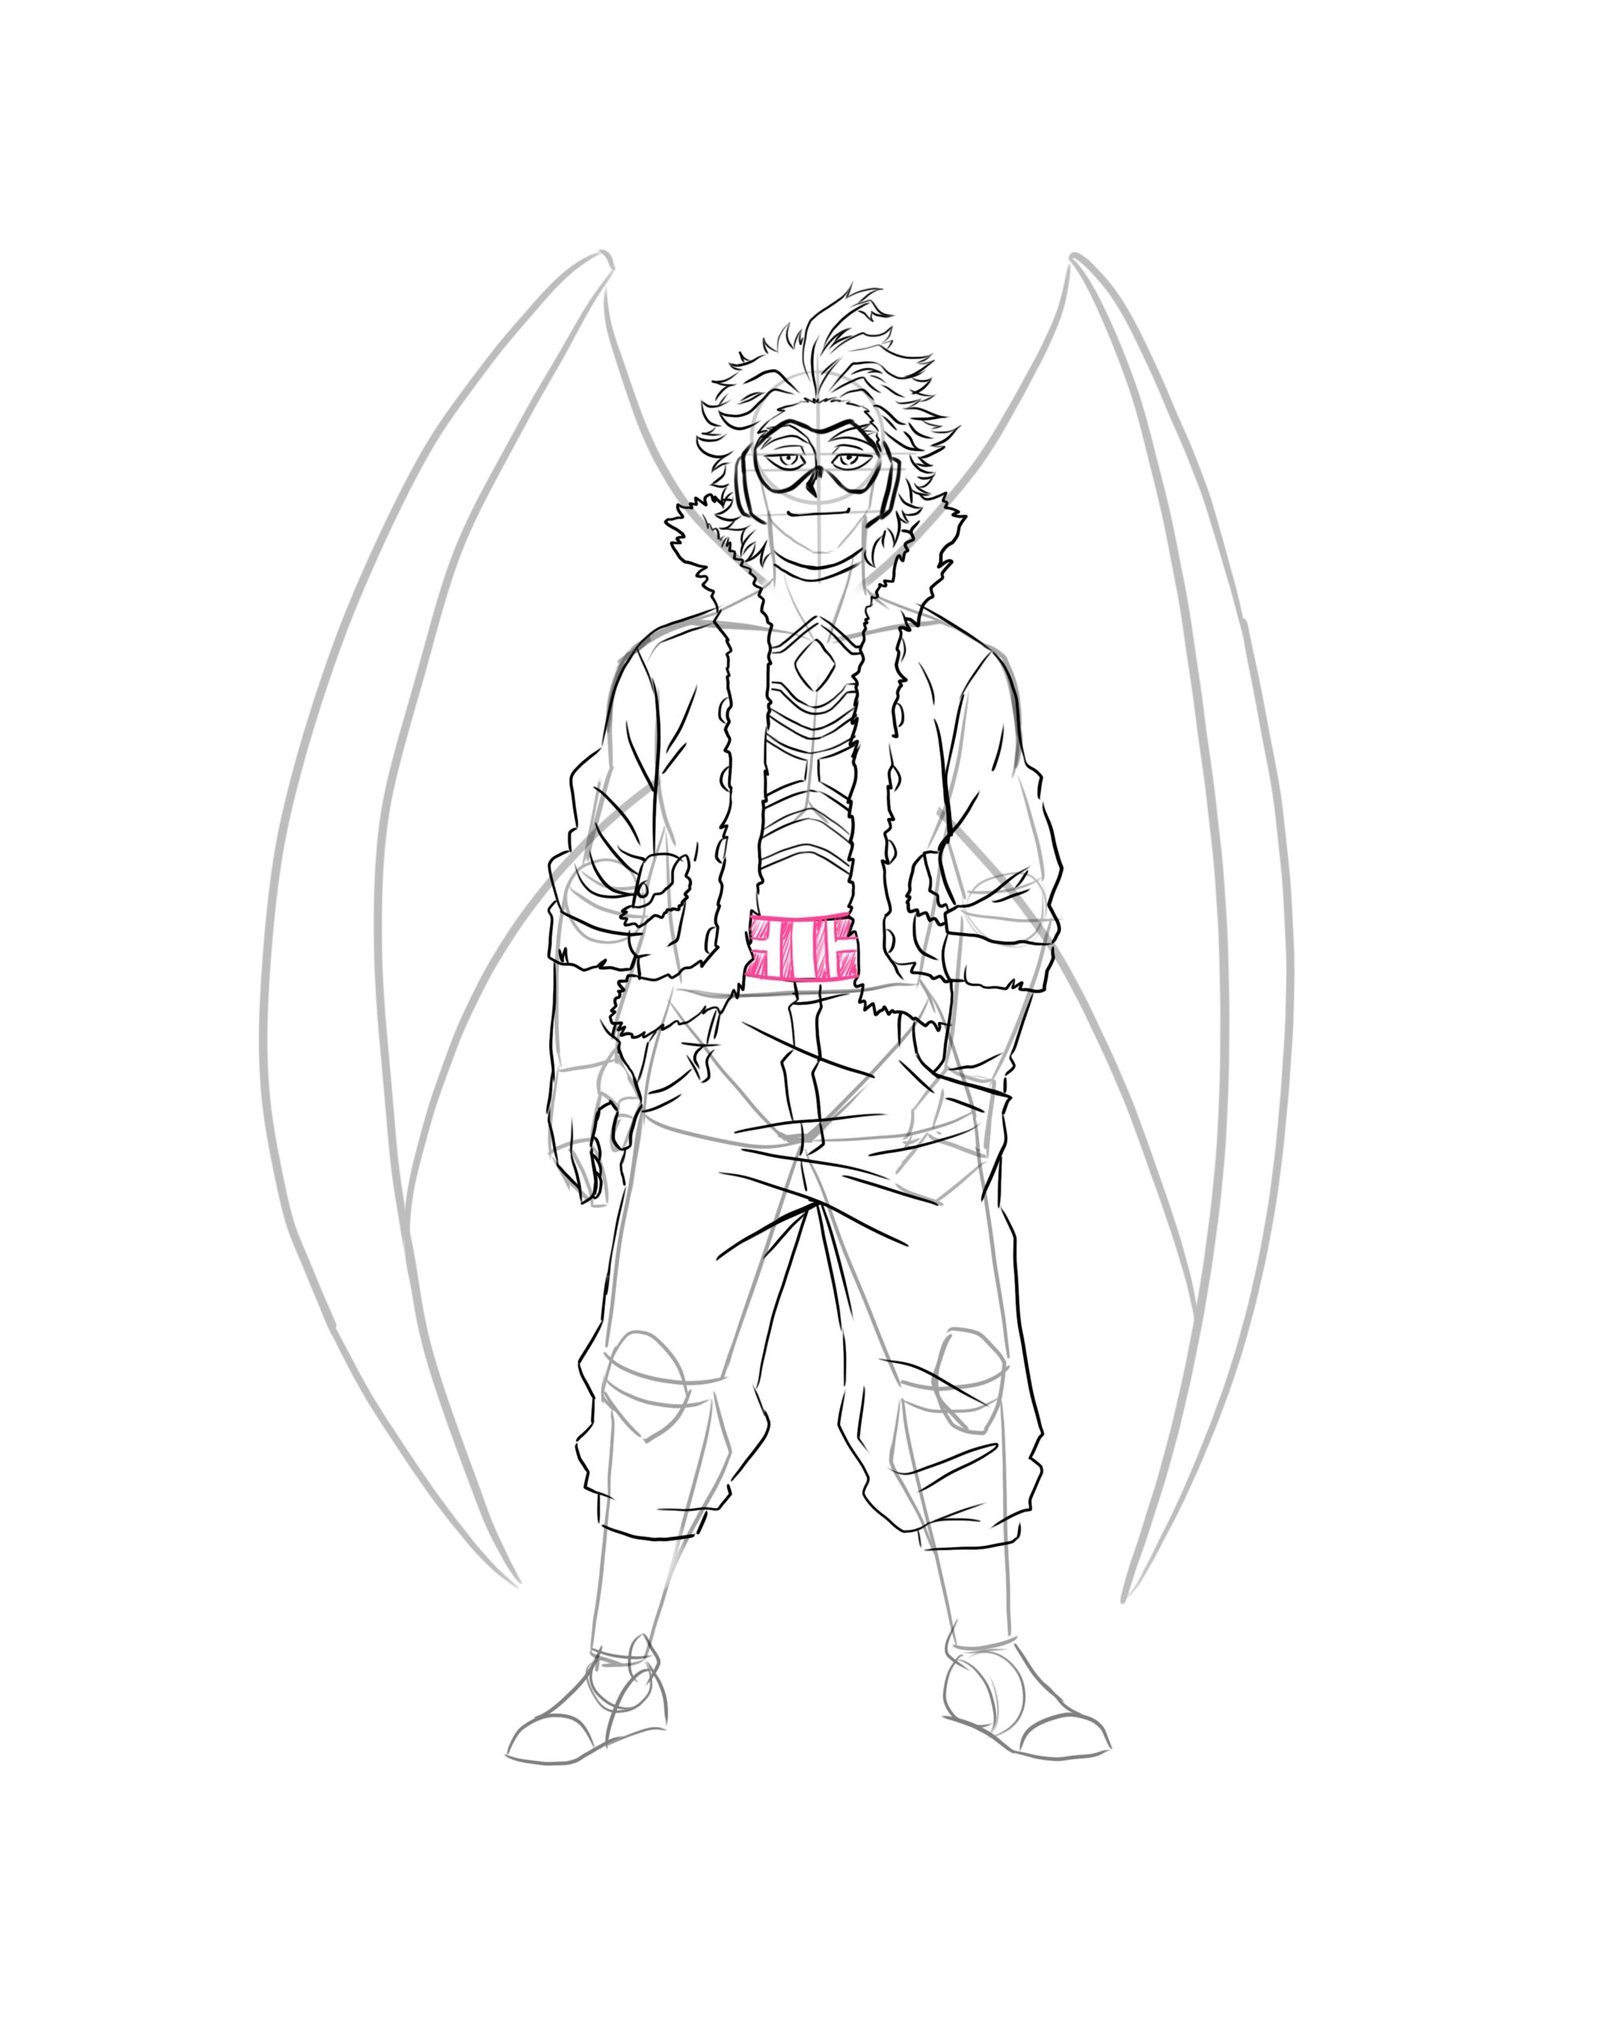
Hawks belt drawing
The belt is placed on the waistline, the belt is connected to the pants, and the belt is placed above the waist.
To draw the belt, connect the two curved you drew for the jacket with two separate horizontal lines.
Make sure the lines are not too close to look like the belt.
Now divide the horizontal lines into three equal parts using a vertical line.
Hawks leg & boot drawing
The leg host the pant and the boot.
After you’ve drawn your pant, all you need to do is draw a vertical line at the bottom of the pant.
At the bottom of this little straight line, draw a slightly curved horizontal line to close the leg.
Draw another vertical line beside the curved horizontal line, end the vertical lines with a curve, so it makes it look like the top of the boot, and draw another slightly curve under the top of the boot so it can serve as the back of the boot, for the upper part of the boot, draw a convex facing upward and extend it to form a vertical curved line so it can draw the front of the boot, now close the open space, that is, from the bottom of the back to the bottom of the front, with this your boot is ready.
Hawks wings drawing
Keigo has two wings which are left-wing and right-wing.
These wings are respectively even and symmetrical.
The wings look exactly like that of a hawk.
The wing starts from the top of the hood (close to the hair); draw a curve at the sides of the head, starting from the top of the jacket and ending above the head.
This is the top of the wings.
Draw a vertical line bending each side from the top of the wing, repeat the lines in several places, close the tips of each line so it makes an edge each, draw a bigger curve that reaches the top of the boots pointing inwardly, make an edge for the curves too, keep repeating the edges from the longer curves towards the hand.
Besides the right long curve, we have three different sharp edges, and for the left long curve, we have another long sharp edge beside it.
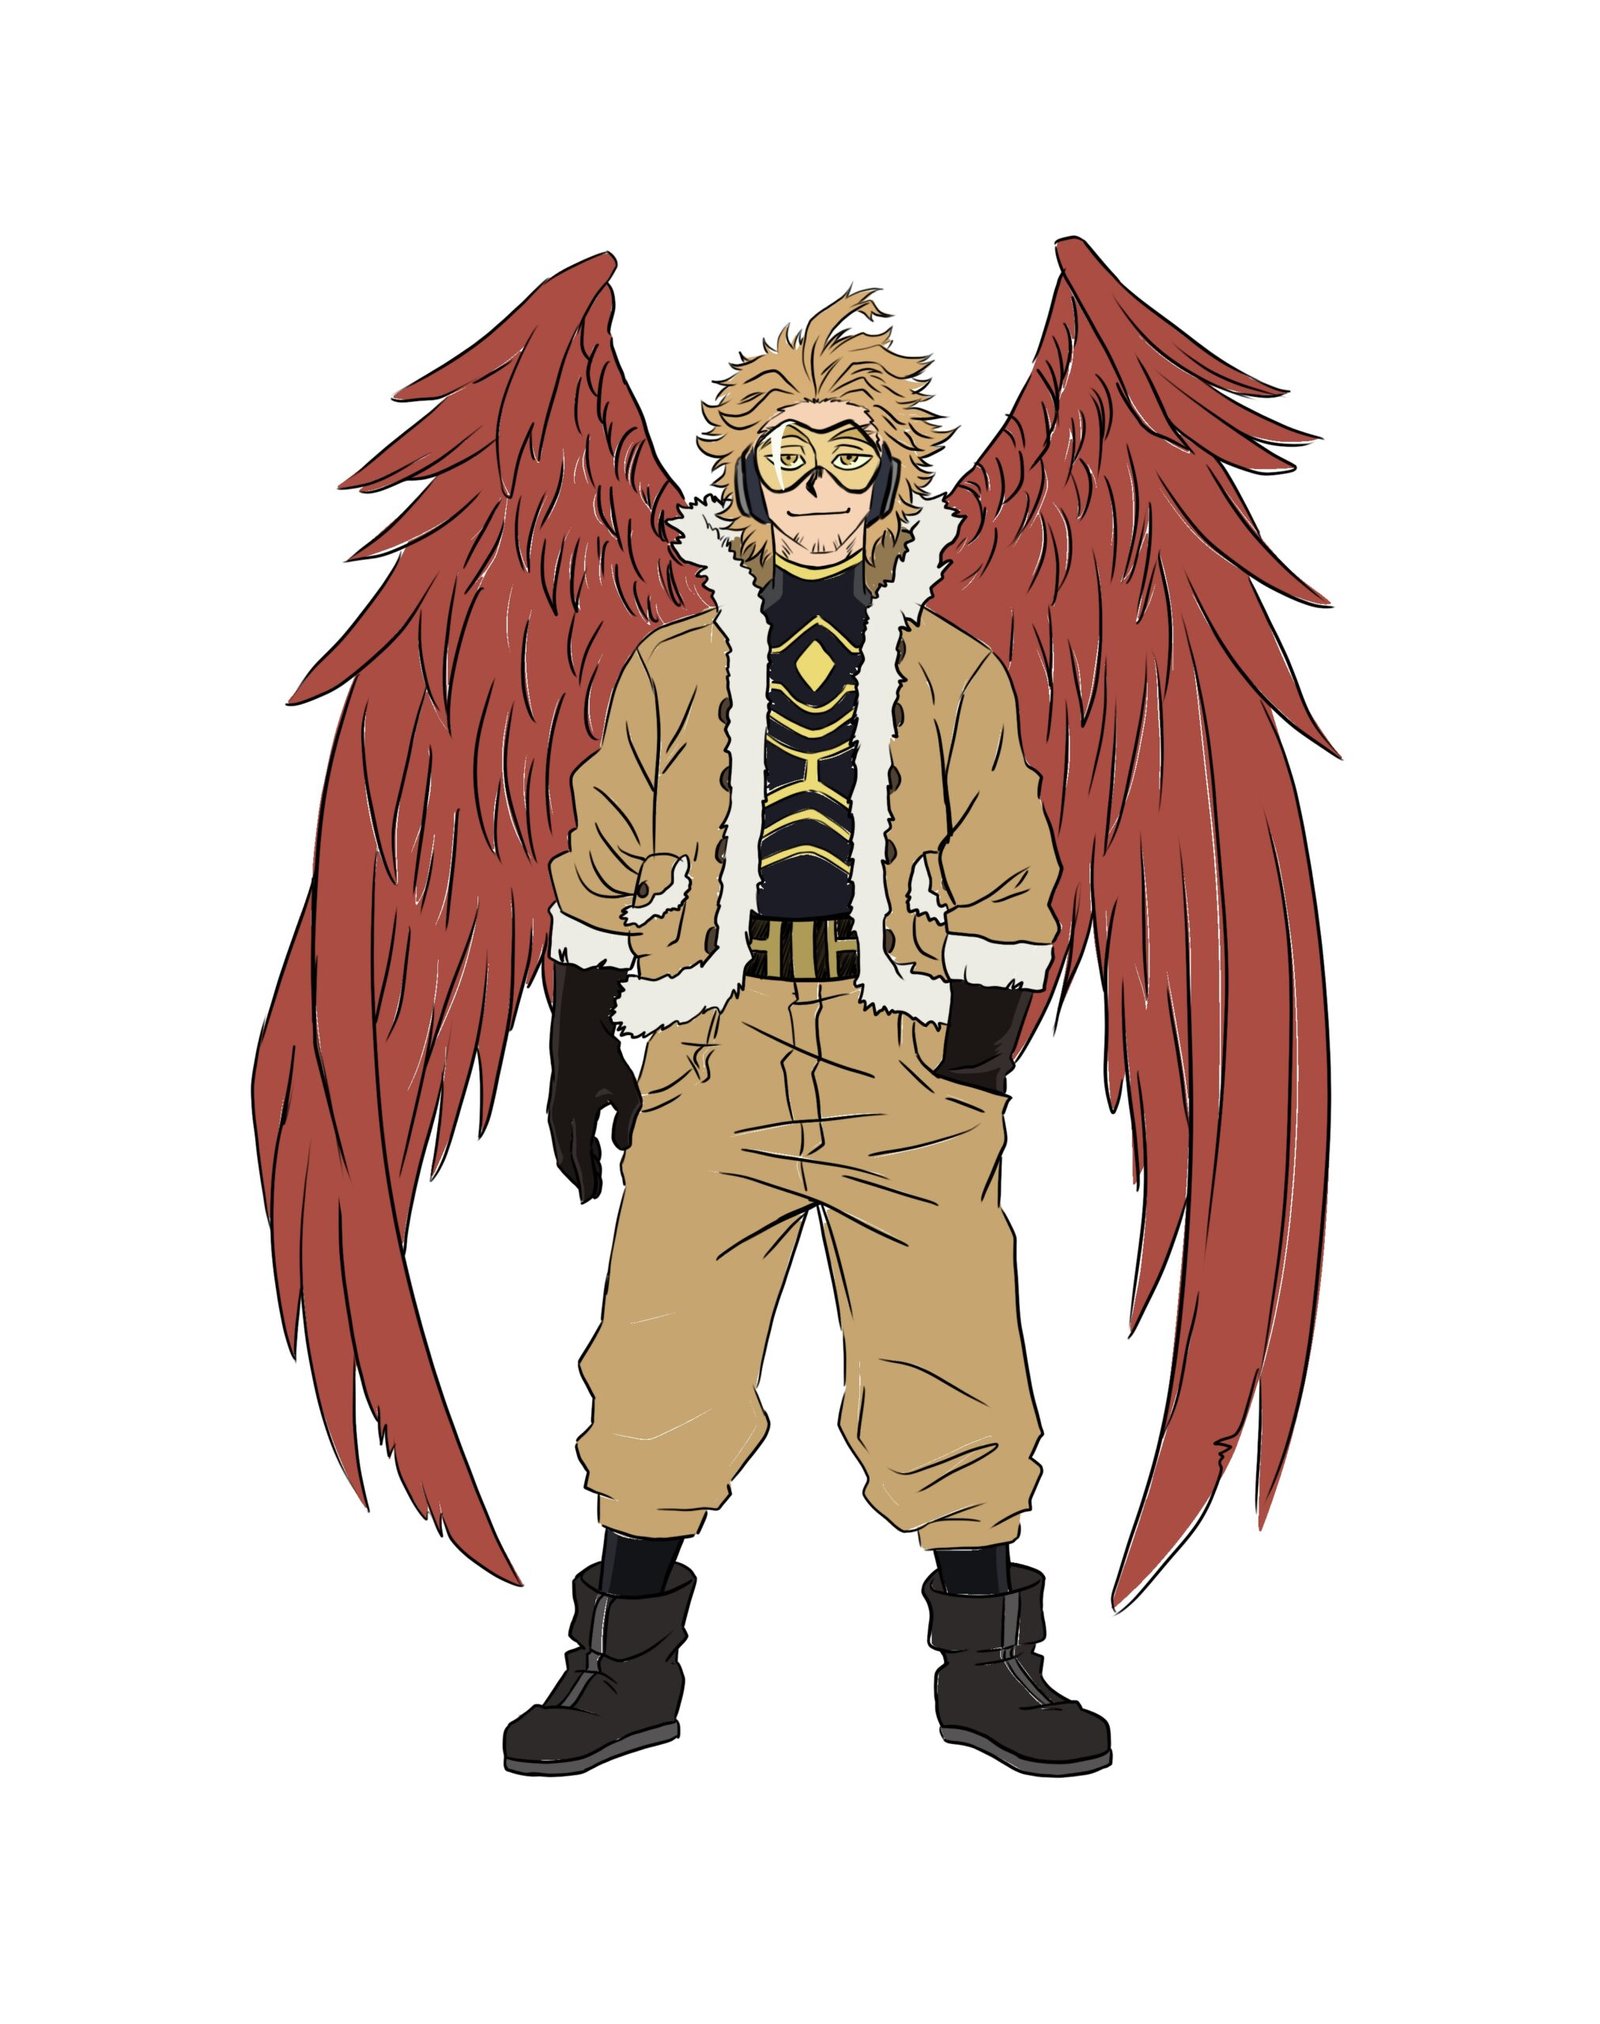
Enhance outfit
To enhance the outfit, add your colors and other features of the outfit, or maybe fix other missing parts you might have skipped while replicating the outfits.
The inner cloth (turtle neck) is black with some designs.
The jacket and the pant are of the same color, the boot is black, the glove is black, and the tips of the hood is white.
Enhance outline
This means other body parts that need enhancement like the eyes, the earphone, the glasses, the hair, the face, and many more.
The glasses are gold in color, the earphone is black, the iris of the eyes are black, and the hair matches the outfits.
Keigo is fair in complexion. The wings are the same color but different from his outfits and complexion.
Conclusion to Hawks Drawing
Now you can draw Keigo from “My Hero Academia” without any problem; all you need to do is get all your necessary materials ready, and with these few steps, you can easily draw Keigo.
Know that drawing is not easy if you don’t practice enough.


")
")
")
